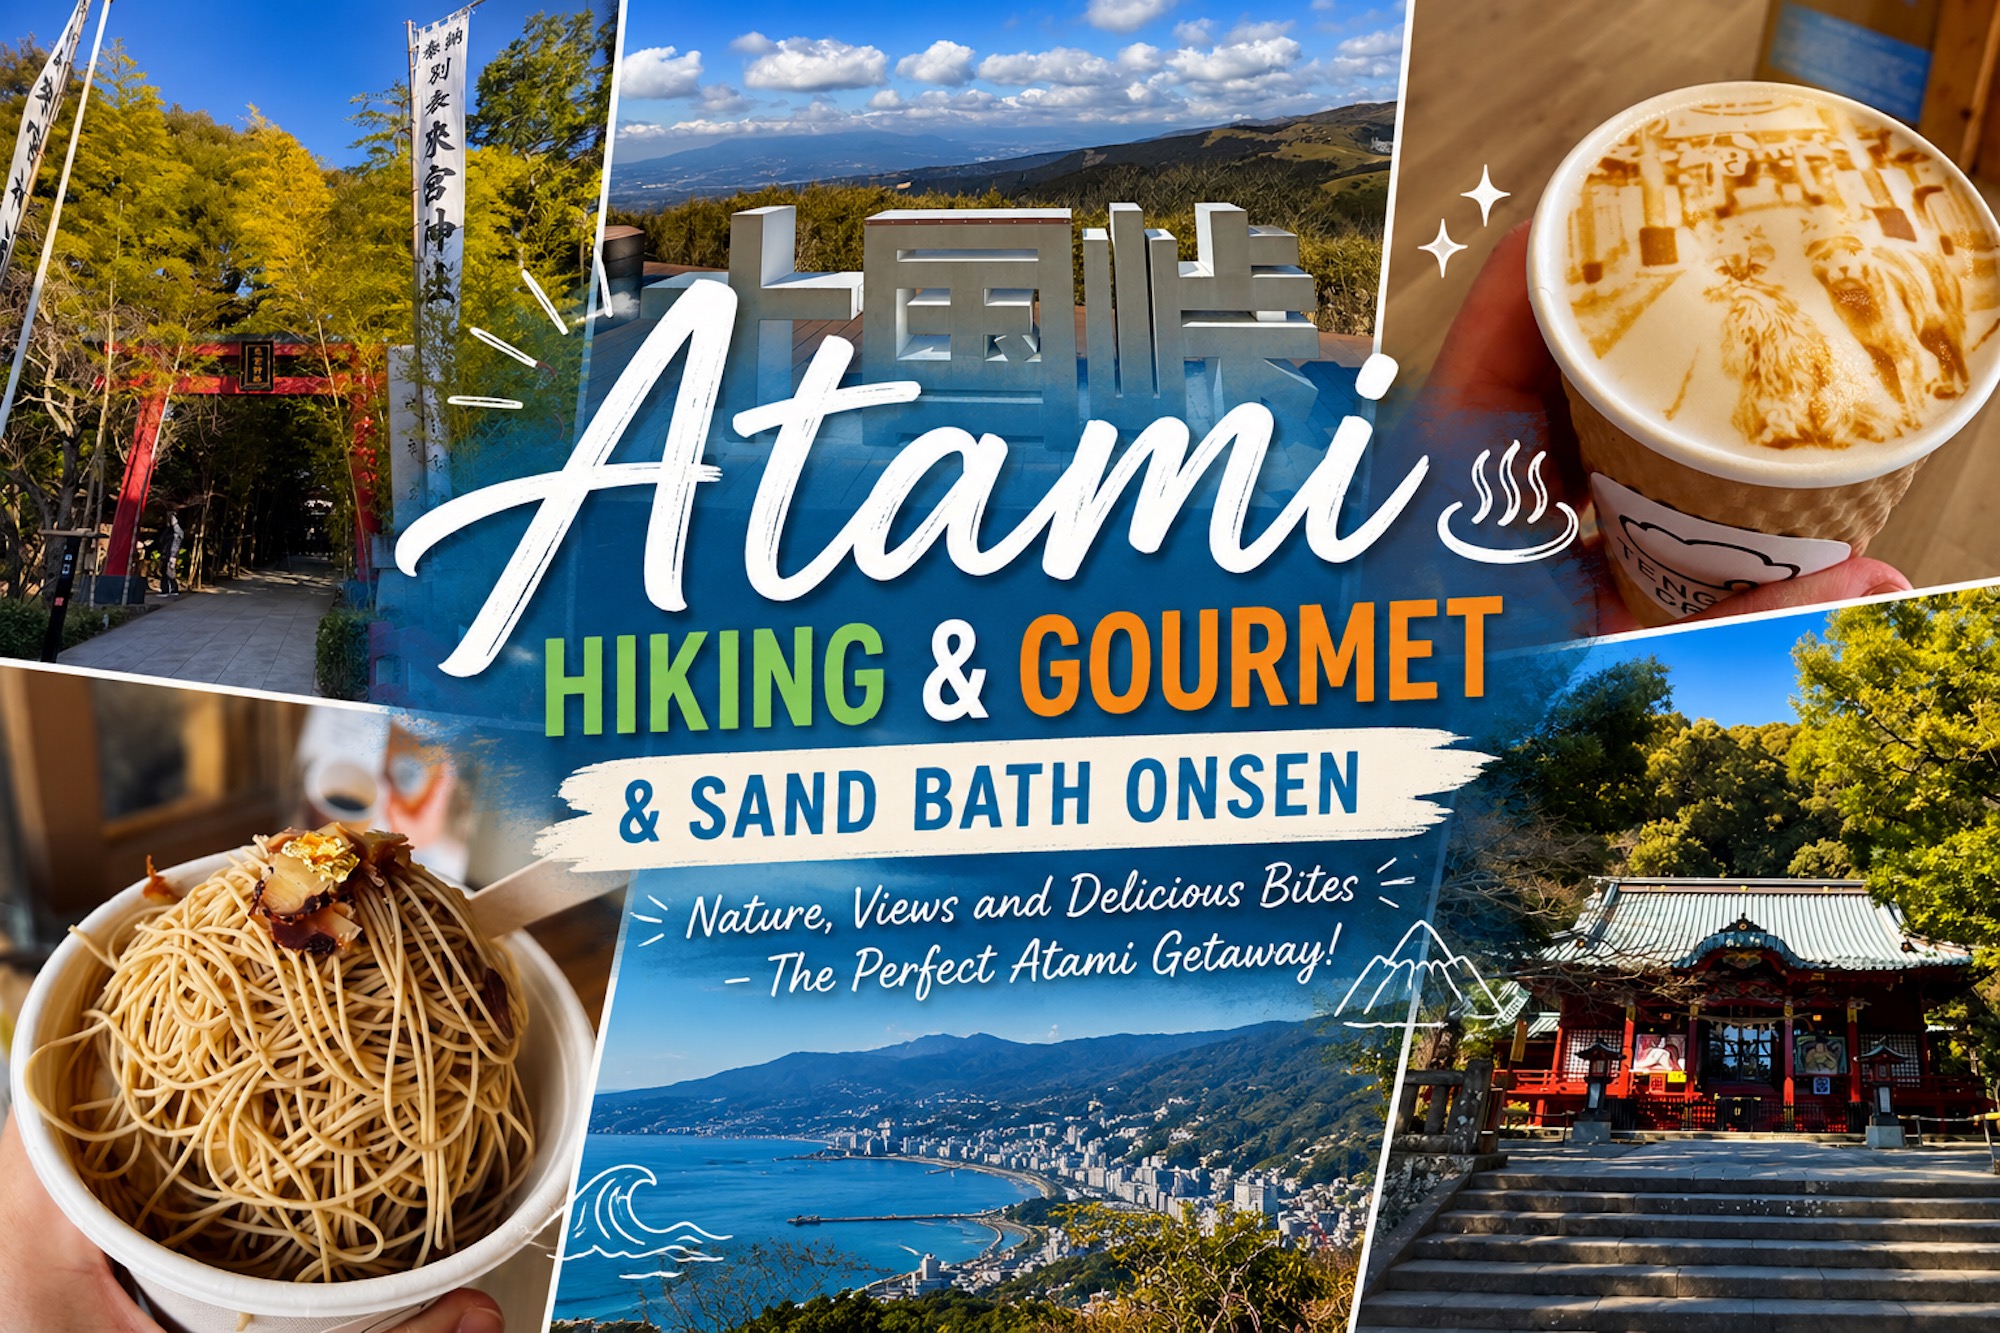
From Numazu, Atami is just about 50 minutes by car — less than an hour and you’re already there. So this time, I planned a full mountain circuit course that packs hiking, lunch, dessert, and an onsen stay all into one day.
Let me take you through the exact route I followed.
- How to Get to Atami from Numazu (Under an Hour by Car)
- Where to Park in Atami: The ¥800 Hidden Lot Near Kinomiya Shrine
- The Coastal Walk to Izusan Shrine
- Climbing the 837 Steps of Izusan Shrine
- From Izusan Shrine to the Inner Sanctuary (Hongū)
- Entering Iwadoyama Trail: The Real Hike Begins
- Reaching Jukkoku Pass: Cable Car, Café, and a Latte with My Cat’s Photo
- The Descent to Kinomiya Shrine — My Favorite Trail in Atami
- Visiting Kinomiya Shrine: A Famous Power Spot
- Lunch at Kakinoki Café: A Quiet Hideaway Near the Shopping Street
- Dessert: Kiito Mont Blanc — Worth Every Yen
- Where I Stayed: PiDD’s Family Atami (Tenkō Stone Onsen)
- Final Thoughts: Why Atami Is Perfect for a Packed Day Trip
- Watch the Full Route on YouTube
How to Get to Atami from Numazu (Under an Hour by Car)
If you’re coming from Numazu like me, the drive to Atami takes about 50 minutes. It’s such an easy distance that you can leave in the morning, hike all day, and still come home the same evening — or stay overnight like I did this time.
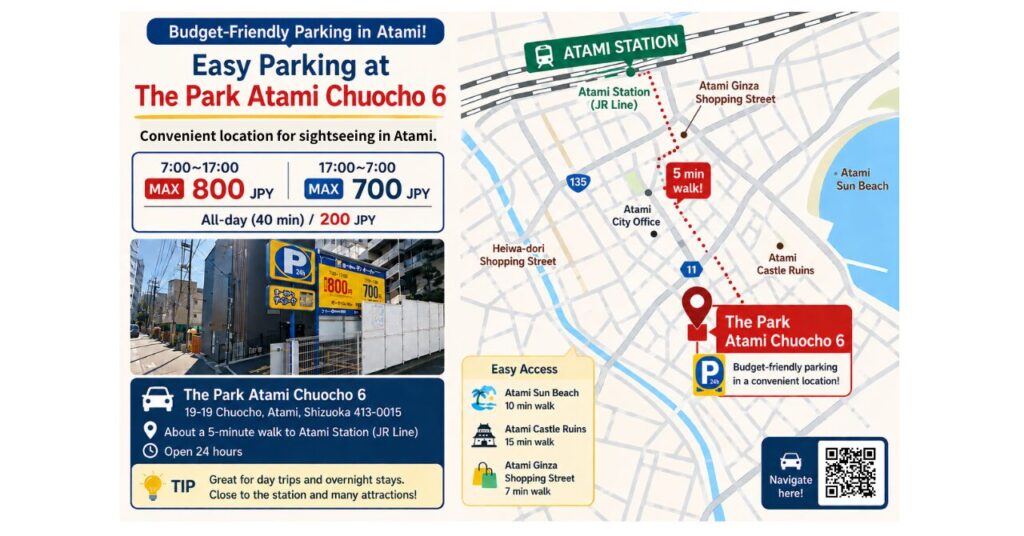
Where to Park in Atami: The ¥800 Hidden Lot Near Kinomiya Shrine
Parking around Atami station can be brutal — most lots post a maximum daily rate of around ¥1,760. But this time, I found a hidden spot a little further out, in the direction of the sea from Kinomiya Shrine.
The daytime maximum is just ¥800.
Yes, ¥800 for the entire day! That’s nearly half of what you’d pay in the main station area, and it’s not even that far from the bustling streets. Total hidden gem. If you find it open, jump on it right away.
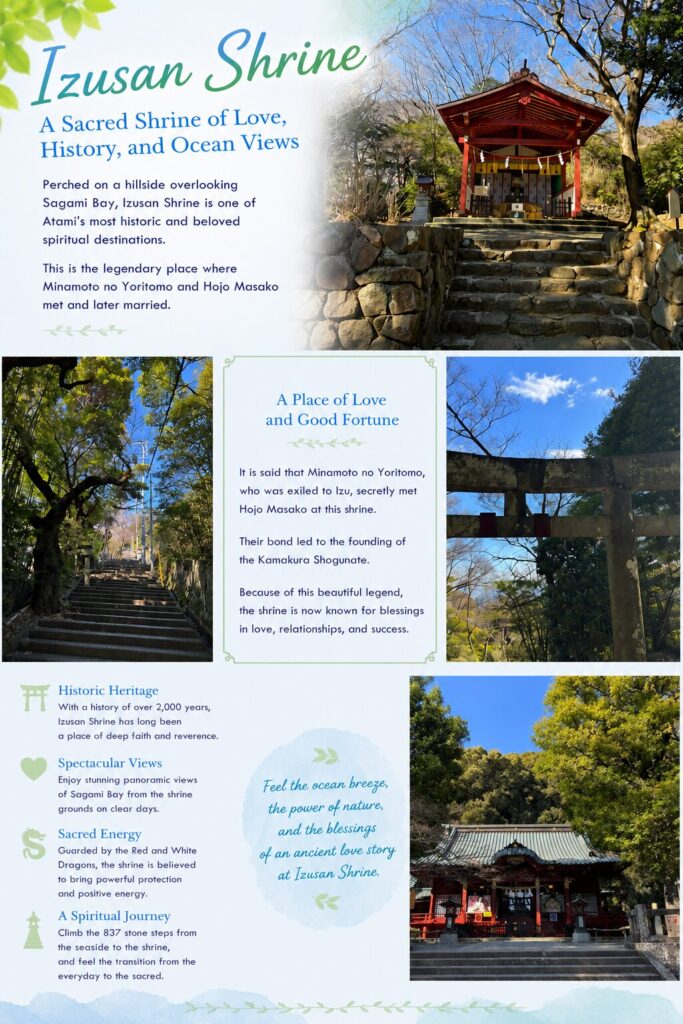
The Coastal Walk to Izusan Shrine
From the parking lot, the route I took starts with a coastal walk toward 📍Izusan Shrine (伊豆山神社). Walking along the sea early in the morning with that fresh ocean breeze — honestly, it’s one of the best ways to start the day.
It takes about 30 minutes from the parking lot, and then suddenly, the long stone staircase leading to Izusan Shrine’s main hall appears.
Climbing the 837 Steps of Izusan Shrine
Most people take one look at this staircase and let out an audible “uwaaa…” — that’s how long and steep it looks from the bottom.
I once said “It must be tough!” to a female delivery person heading up these steps, and she smiled and replied, “Yes! I’m not used to it, but I’m doing my best!” — which honestly made me feel like I had no excuse to complain either.
So no whining allowed. With an “Eiya!” I started climbing.
From the spot where I joined the steps, it’s about 600 to the top. If you start from the coast, it’s the full 837 steps to 📍Izusan Shrine.
From Izusan Shrine to the Inner Sanctuary (Hongū)
After reaching the main shrine, the route continues up the mountain to the inner sanctuary (本宮) along a forest trail. From Izusan Shrine to Hongū is about 1 km of mountain path.
A heads-up: the trail is not well-maintained. There are loose rocks and fallen branches everywhere, so sandals or your nice “going out” shoes are a hard no. Proper trail shoes only.
I reached Hongū, paid my respects, and kept going up — though for a stretch, the route actually passes through a quiet residential area. Some of the houses here are beautiful villas, and beyond them you’ll see corporate retreat facilities and employee resorts.
I walked along the road that climbs further up the mountain, passing the Itochu Health Insurance Union retreat house, and continued toward the trail going deeper into the mountain.
This part still walks along the road for a bit. I was so deep in conversation that I completely missed the trailhead — I had to backtrack to find the Iwadoyama trail entrance (岩戸山入口). Don’t make my mistake!
Entering Iwadoyama Trail: The Real Hike Begins
This is where the actual hiking begins.
📍Iwadoyama (岩戸山) connects to 📍Jukkoku Pass (十国峠), but it’s the kind of trail where if you’re not careful, you can slip and fall. The footing gets narrow and at some points you’ll be grabbing onto rocks and tree branches to pull yourself up. Take it slow and climb carefully.
Once you reach the summit of Iwadoyama, you’re done with the steep climbing. From here, the path just rolls along, and eventually meets the 📍Hikinozan (日金山) trail that comes up from the Kinomiya Shrine side.
The Hikinozan trail is known as “📍Stone Buddha Path” (石仏のみち) — there are Buddha statues at regular intervals along the way, acting as markers for hikers. It’s such a peaceful section.
From there, you continue toward 📍Himenosawa Park (姫の沢公園) and eventually arrive at Jukkoku Pass.
Reaching Jukkoku Pass: Cable Car, Café, and a Latte with My Cat’s Photo
I hiked all the way up, but here’s the thing — you can actually reach 📍Jukkoku Pass (十国峠) by car or cable car, too. The top is beautifully maintained, so if you’re coming up by cable car or car, sandals are totally fine.
Time for a break!
The observation deck has a café that sells original churros and other treats. The thing that caught my eye was their photo latte printer — you can upload your own photo data and they’ll print it on top of the latte foam.
I tried it with a photo of my cat. ¥700 per cup. The print came out beautifully detailed!
Honestly, the cost-performance isn’t great, but as a memory? It’s pretty special.
After the break, it’s time to head back down.
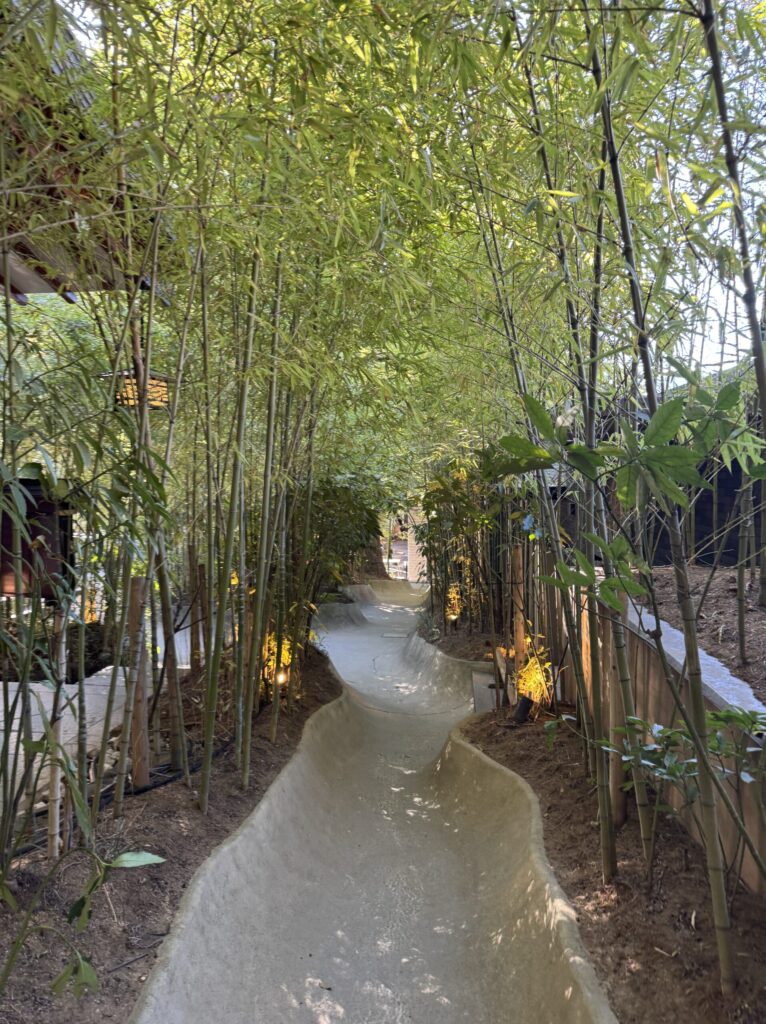
The Descent to Kinomiya Shrine — My Favorite Trail in Atami
The descent route back toward Kinomiya Shrine is my absolute favorite trail in Atami. You get a full view of the Atami sea, the wind blowing through feels amazing — it’s just bliss.
You can sometimes even spot the ferry running between Atami and Hatsushima Island from up here.
A warning, though: just like the climb up was steep, this descent is also steep. If your sneakers are the kind where your foot slips inside the shoe, your toes will get crushed against the front and start hurting. Re-tie your shoelaces tighter before heading down — that’s my honest recommendation.
Trail Shoes I Actually Recommend (Altra, HOKA, Adidas, Salomon)
I’ve been doing trail running for the past few years, and based on real experience, here’s what I recommend:
- Altra trail running shoes — my top pick. Super durable, soft and comfortable, and your foot doesn’t slip inside.
- HOKA ONE ONE trail shoes — also a great option, but the soles wear out faster than Altra.
- Adidas (Japanese brand) — light, durable, with good propulsion. Solid choice.
For running vests, Salomon is hands-down my recommendation — high functionality, soft fit that hugs your body.
Then it’s just descending the rest of the way down.
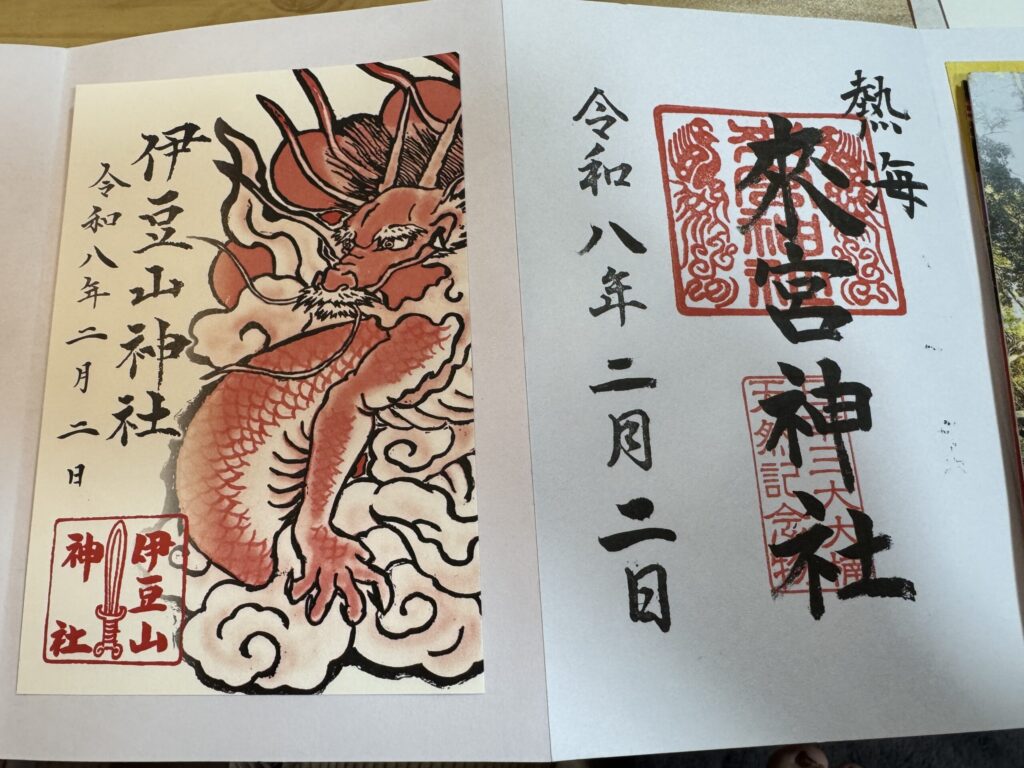
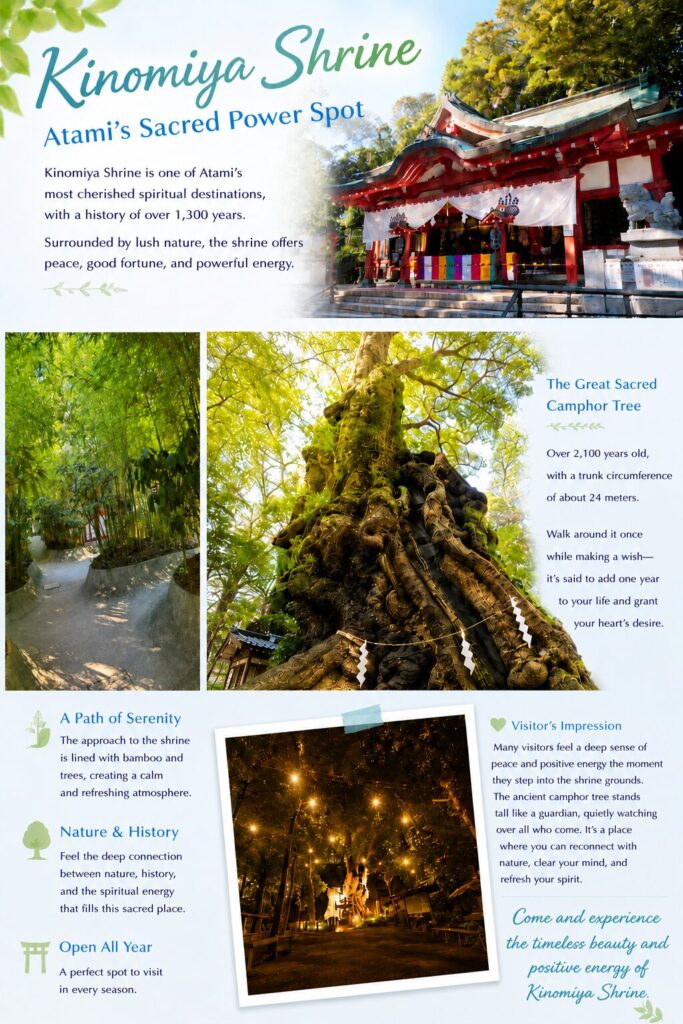
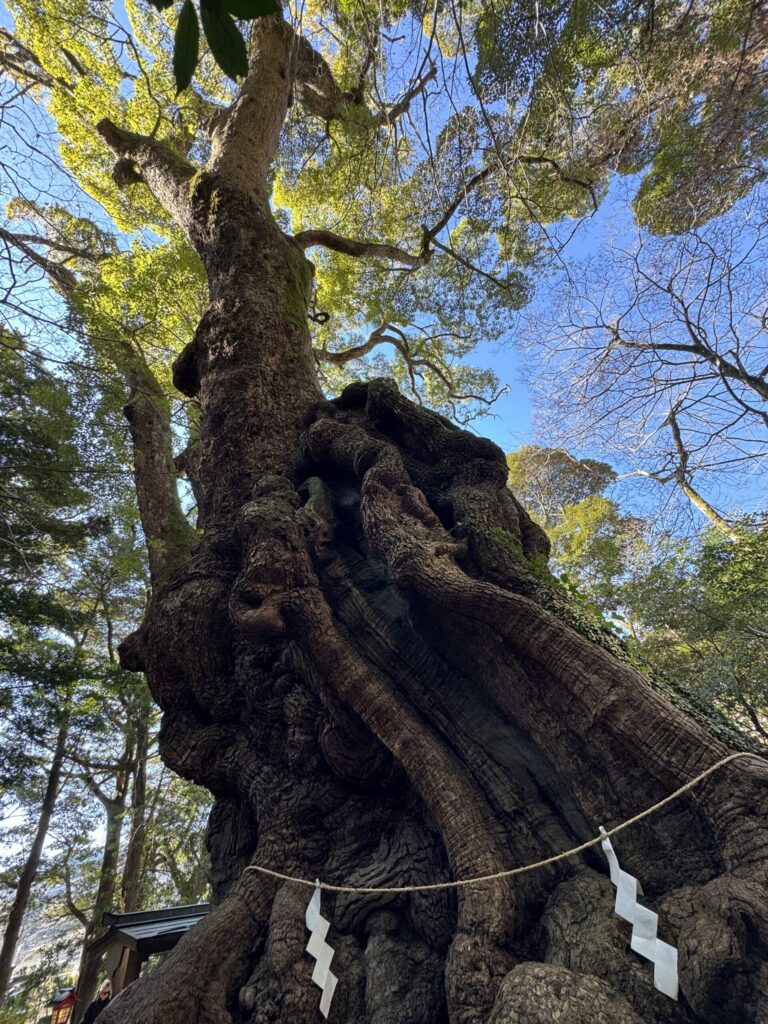
Visiting Kinomiya Shrine: A Famous Power Spot
I made it down and paid my respects at 📍Kinomiya Shrine (来宮神社).
This shrine has become really famous as a power spot over the past few years and it’s now packed with worshipers. There’s a stylish café on the grounds, and at night the shrine is lit up beautifully — the whole space turns into something magical.
Lunch at Kakinoki Café: A Quiet Hideaway Near the Shopping Street
Back to the car, dropped off my backpack and anything I didn’t need for the rest of the day, then headed into the main shopping street area. By now it was already lunchtime, so the popular spots had lines out the door.
So I went a little off the main strip and found my way to 📍Kakinoki (柿乃木), a quiet café.
Even on a Sunday lunch, it was relatively empty — maybe just lucky timing — and we were seated at a table with zero wait.
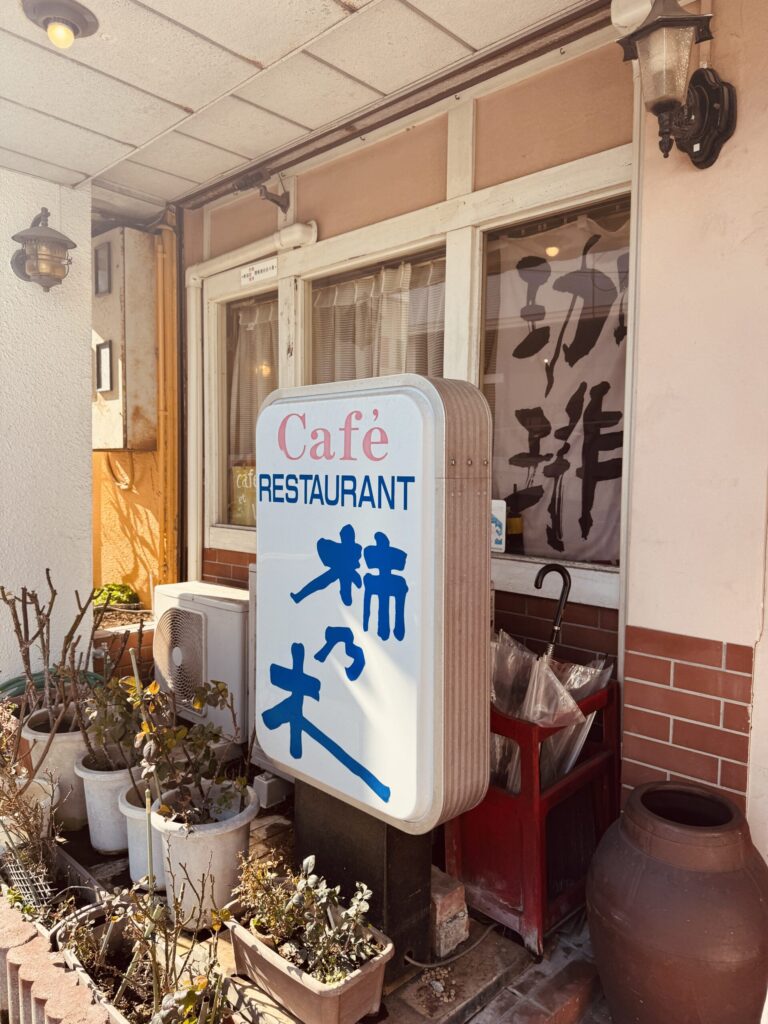


I ordered the Napolitan set. But it wasn’t the classic retro-café Napolitan I’m used to. This was more like a proper, refined tomato pasta — light, gentle, exactly what my tired body needed. So good.
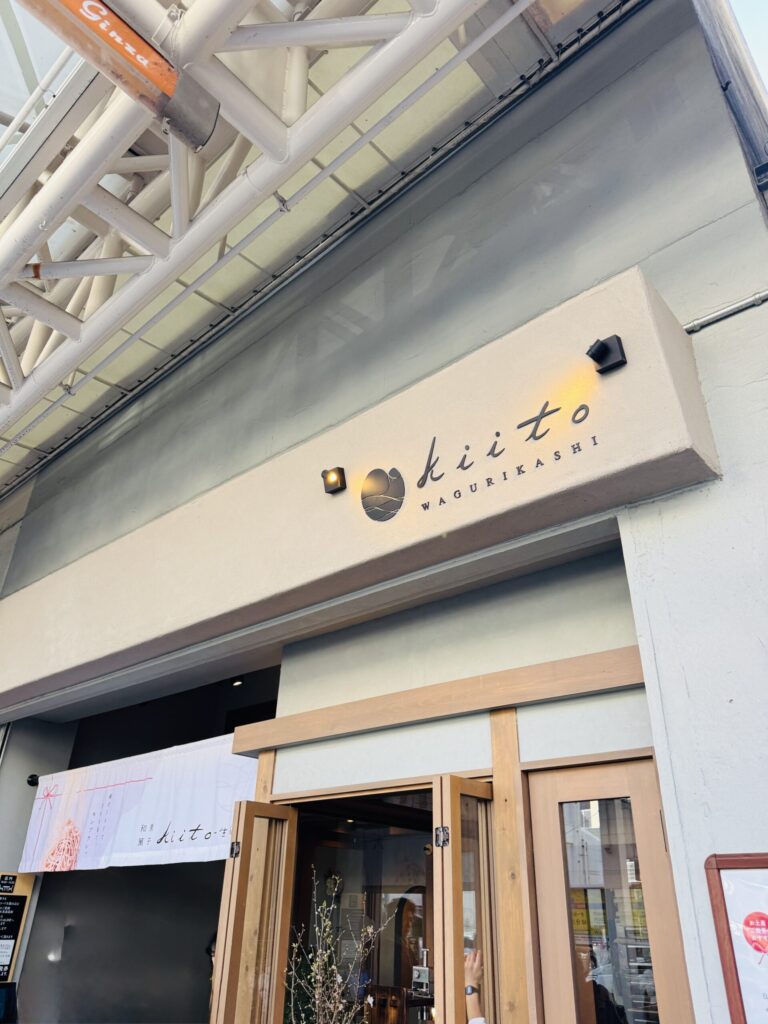
Dessert: Kiito Mont Blanc — Worth Every Yen
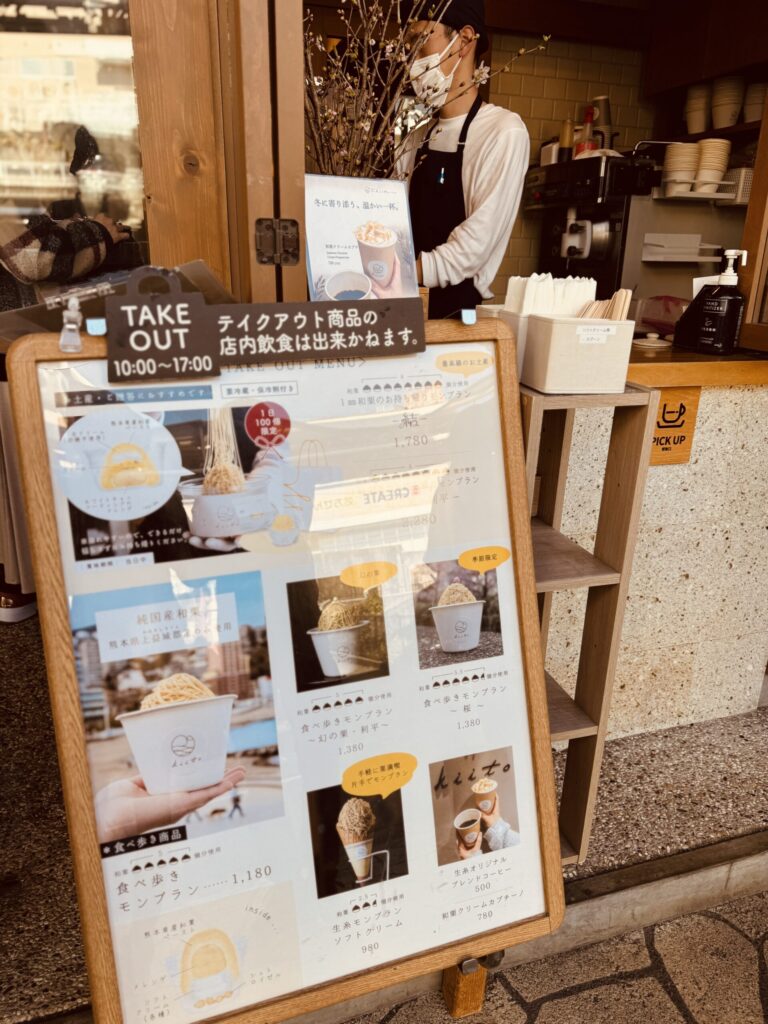
After lunch, I headed back to the main shopping street to a place I’d been wanting to try: Wagurikashi Kiito (和栗菓子kiito-生糸-), a mont blanc specialty shop.
This is one of those places where they pipe out the mont blanc right in front of you — it’s a whole performance.
I went for takeaway and ordered the “Walking Mont Blanc ‘Phantom Chestnut’ Rihei” (食べ歩きモンブラン “幻の栗”利平) at ¥1,380.
Inside the mont blanc, there’s soft serve and a huge meringue layer. One bite in — the chestnut flavor was honestly moving. And the meringue was so delicate and crisp that even a wooden spoon went through it cleanly. The chestnut-meringue combo was so good that I also bought their separately-sold chestnut meringue to take home.
Please, please try this if you go.

📹 Click the image to watch the video on YouTube.
By the time I finished, it was around 14:30. From dawn until mid-afternoon — packed full of activity in one day.
Where I Stayed: PiDD’s Family Atami (Tenkō Stone Onsen)
My home is actually pretty close, but this time I’d booked a no-meal overnight stay in Atami.
The place I chose? 📍PiDD’s Family Atami (PiDD’s Family 熱海) — the very same lodging spot you pass on the way down from Jukkoku Pass toward Kinomiya Shrine.
They also offer day-use plans for sand bath and stone bath (岩盤浴), which are honestly the perfect recovery after a mountain hike.
The guest rooms are old-style Japanese inn vibes — clean, quiet, and you can really relax. The toilets are shared, but the facility is small enough that I barely crossed paths with other guests at all.
The dining area offers welcome drinks — their original apple cider vinegar drink is a thing to try.
There’s a nurse on the staff team, which gave me real peace of mind in case anything happened. Everyone there is kind, attentive, and the atmosphere is so warm.
Now, the special part: the baths, stone bath, sand bath, futons, and pillows all incorporate a material called “Tenkō Stone” (天香石) — known for far-infrared effects that promote blood circulation and aid recovery from fatigue.
Even just a short soak warms you from the core, and the warmth lingers for ages. I was glowing all night.
The bedding has recovery effects too, so just lying down felt like my whole body was being healed.
Final Thoughts: Why Atami Is Perfect for a Packed Day Trip
The whole day flew by in a blink. But by starting activity early in the morning, I managed to fit hiking, lunch, dessert, and an onsen all into one trip — and that’s exactly the magic of Atami.
Whether you’re a Numazu local like me or visiting from further out, this circuit covers the best of the area in a single (very full) day.
Watch the Full Route on YouTube
I’ve uploaded the full hiking route from this trip on YouTube — definitely check it out for the visual walkthrough.
Thanks so much for reading to the end!
Disclosure: This post contains affiliate links, and I earn a small commission from qualifying purchases at no extra cost to you.

📍 Visiting the Numazu area? Check out my full local guide: 10 Things to Do in Numazu, Japan: A Local’s Guide.

Comments